Introduction: A Simple Garden Pond That Anyone Can Build
The idea of a garden pond is a beautiful one, but it is also a daunting task for most people. They think of complicated plumbing, digging, or even costly mistakes. This is a real problem, as it prevents good ideas from getting off the ground.
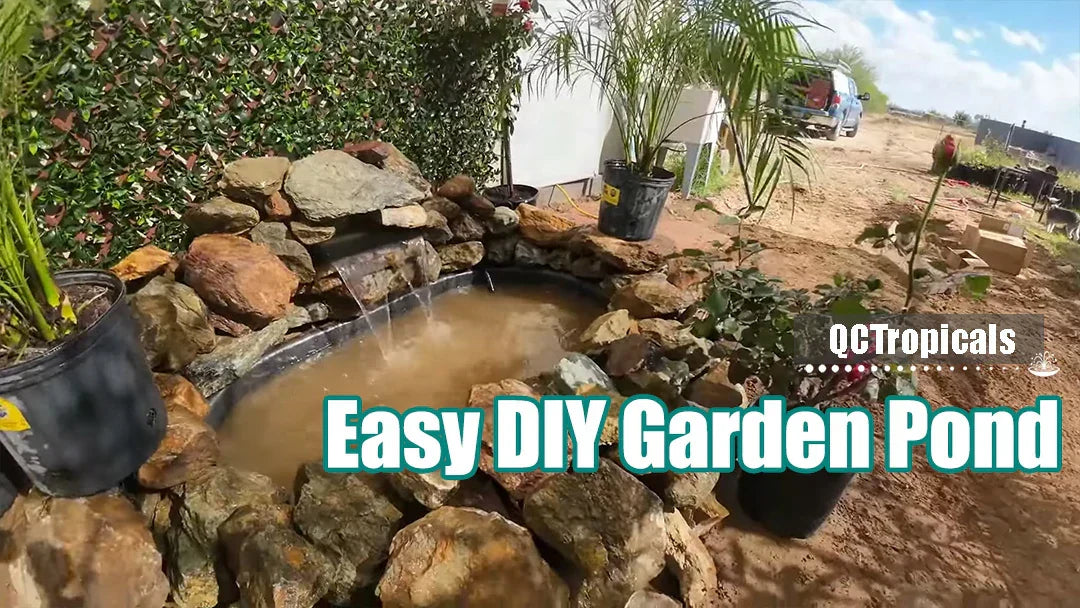
The video posted by @qctropicals is a different story. It is a relaxed, manageable, step-by-step approach to a garden pond with a small waterfall. This is a user story about a normal garden corner that is converted into a pond with a small waterfall, without stress or confusion. A garden pond is supposed to be an invitation, not a deterrent.
Why an Easy DIY Garden Pond Works for Real Homes
Designed for Beginners, Not Experts
The DIY garden pond is not a project for experts. This is a project for people who want to make progress, not perfection. This is a step-by-step guide, so if a rock is not in the right place, it is moved. If the waterfall is too strong, it is adjusted.
This is a big deal, as most people who attempt a garden pond for the first time are not experts. They are not sure what they are doing, so they need a waterfall kit that allows them to make mistakes without those mistakes becoming costly errors.
A Water Feature That Fits Daily Life
The garden pond in this video is not a large or dramatic pond. It is a normal pond that fits into a normal garden. This is a pond that can be walked past or sat near without feeling out of place.
The waterfall is a big part of this pond, as it adds movement to the pond. This is important, as pond water that does not move is considered stale. This is not a pond with a waterfall that is so strong that it is overpowering.
Planning the Pond Layout Before Installation

Selecting the Right Location
The location must be chosen first. In the video, the pond was located so that it could be visually appreciated without the pond being walked around. This will help reduce wear and tear on the pond.
The pond must also be located so that it can receive partial sun. Too much sun will cause algae to grow on the pond. Algae are the green clumps that grow due to the pond receiving sunlight and the nutrients from the water.
Visualising the Waterfall Flow
The rocks are placed around the pond before fixing the waterfall. This will help visualise the flow from the spillway — the flat part through which the water will flow from the waterfall and fall into the pond.
This step might look like a waste of time, but it will save a lot of time. Water will always flow towards the lowest point. This step will help visualise the flow and ensure no surprises are encountered once the pump has been turned on.
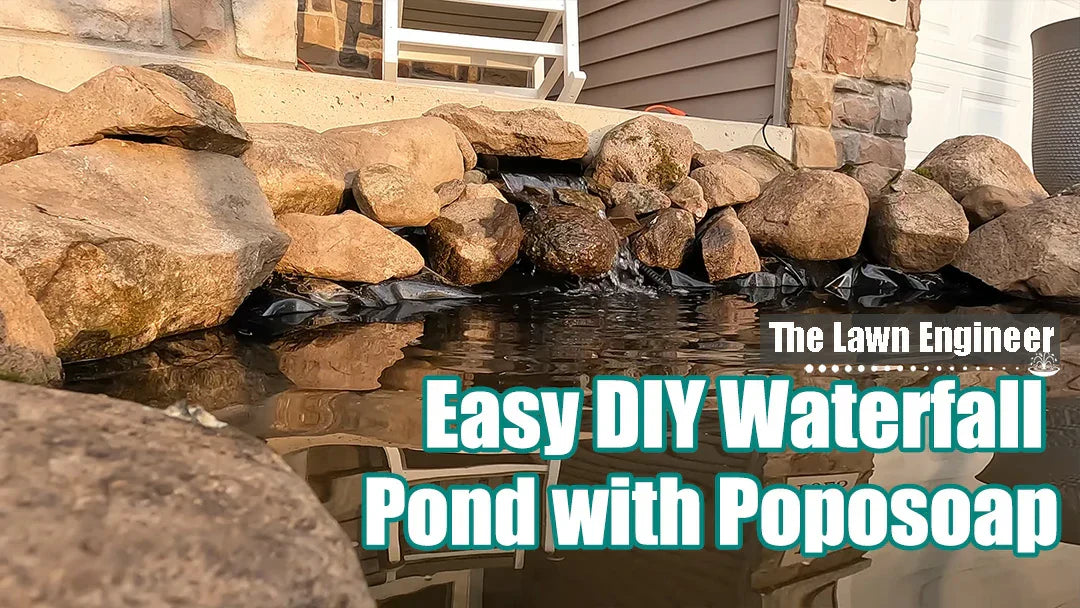
Using the Poposoap Waterfall Kit Step by Step

Understanding the Waterfall Kit Components
The 40W 660GPH Waterfall Pump Kit has all the necessary parts: a pump (the device that will push the water), a hose through which the water will flow, a filter net (for filtering leaves, gravel, etc. for water pumps), and a metal spillway (the device through which the water will spill). All the parts have a use. This will help a beginner eliminate a lot of doubts.
Installing the Pump Correctly
- Submerge the pump underwater. This will help cool the pump and reduce noise.
- Position the pump away from leaves. This will help ensure the pump does not get clogged.
- Run the tubing from the pump to the spillway and use rocks to cover it. This maintains the pond's natural appearance and also protects the tubing from the sun, which can damage it.
- Level the spillway using flat stones underneath it. This ensures that there is an even sheet of water instead of streams of different heights.
Building the Waterfall and Making Adjustments
Testing the Water Flow Early
The pump is turned on and the water flow is observed. If there is splashing of water outside the pond, rocks are moved.
This part of building the pond is where patience is required. It ensures that there is no loss of water later.
Adjusting the Sound of the Waterfall
The sound of the water is personal. Some people want it low. Others want it loud.
The pump can be used to adjust the sound of the water. The height and position of rocks can also be changed. This ensures that each builder can adjust it according to their needs.
Blending the Pond with the Garden
Rocks are placed around the pond. Plants are positioned around it. Everything settles down with time.
As time goes by, the pond becomes part of the garden.
Living with a Poposoap Garden Pond Long Term

Simple Maintenance for Busy Schedules
Living with the Poposoap Garden Pond for the long term is simple. Occasionally, the pump intake is checked to make sure there are no leaves or small items getting in the way. This simple process ensures the water flows freely at all times.
With the waterfall providing the circulating water, the pond stays fresh and clean with little maintenance required.
A Daily Source of Calm
This is where the Poposoap Waterfall Kit truly excels. It does not disrupt the peace. It does not make demands on the individual who will use the space.
The pond is now part of the daily routine. The evenings and mornings are spent with the soothing sounds of the water feature.
Conclusion: An Easy DIY Pond That Feels Truly Rewarding
This Easy DIY Garden Pond user story proves that a water feature doesn't have to be complicated to be wonderful. With proper planning and a good Poposoap Waterfall Kit, a simple space can quickly become a meaningful one.
The DIY project shared by @qctropicals is a good example of what many new DIYers need most: confidence, clarity, and a tool that will do what it promises to do.
The pond may just be a body of water and rocks, but it also represents a simple reminder that simple DIY projects can yield big rewards. With the proper tools and state of mind, a peaceful pond can quickly come within reach.
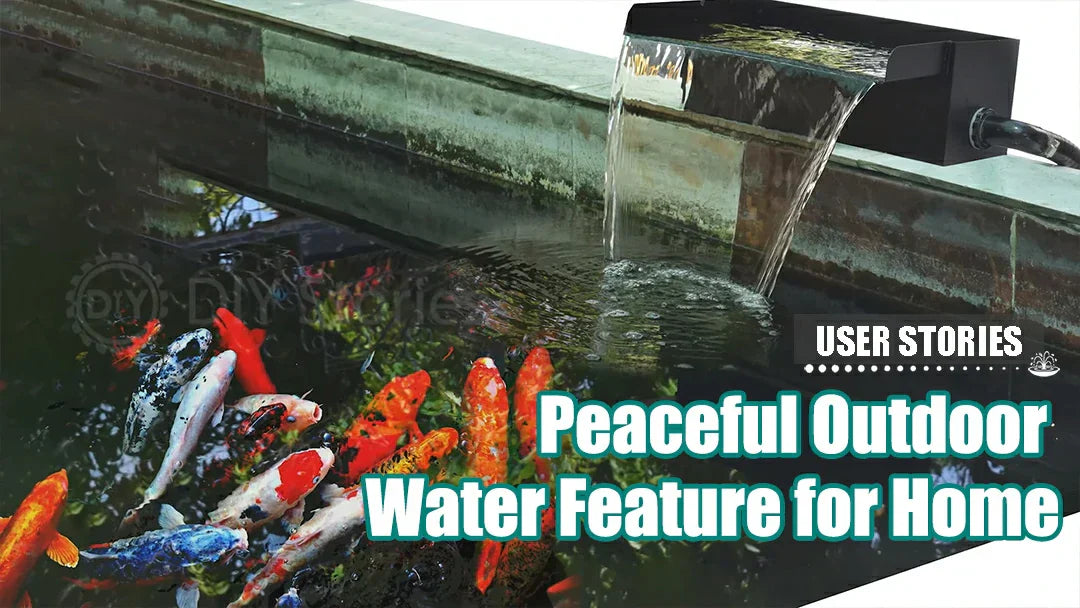
READ MORE: Peaceful Outdoor Water Feature for Home

40W Garden Pond Waterfall Pump Kit
$129.99
Shop the same waterfall kit:Outdoor pond waterfall kits with 12-inch 304 stainless spillway, 40W 660GPH pump, 9.8ft hose and filter bag. Ideal waterfall kits for backyard.
Laisser un commentaire
Tous les commentaires sont modérés avant d'être publiés.
Ce site est protégé par hCaptcha, et la Politique de confidentialité et les Conditions de service de hCaptcha s’appliquent.