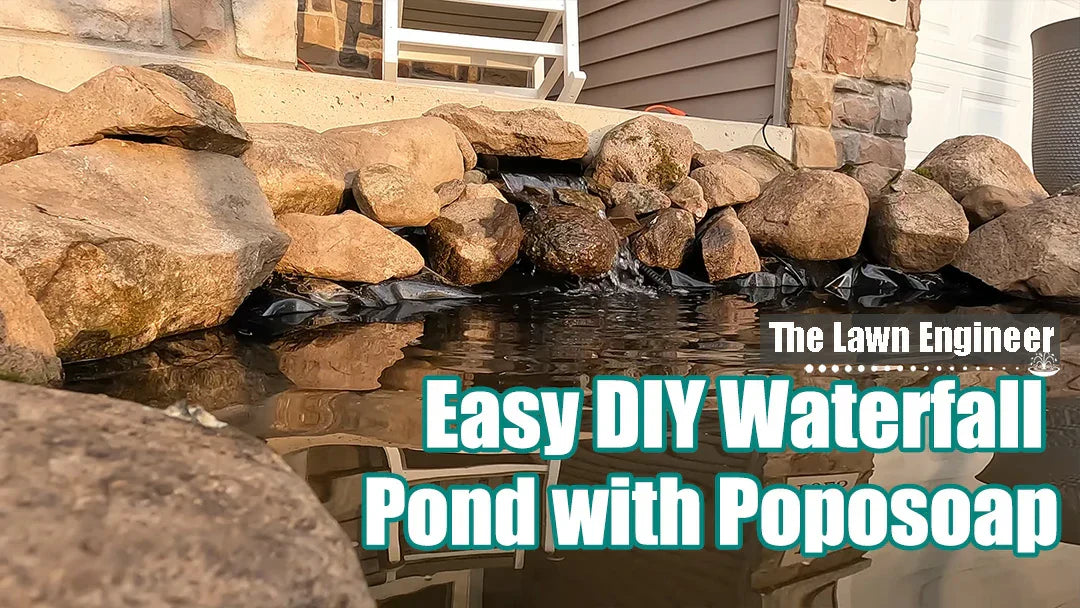
Introduction: A Backyard Project with a Clear Goal
Most projects start with a sketch. Other projects start with a problem to be solved. The problem to be solved in this instance is obvious. The need to build a waterfall pond that works well, looks great, and sounds great has to be fulfilled.
In this user story, @TheLawnEngineer walks the reader through the process of actually building a waterfall pond. No staged setup. No showroom finish. What you get is the finished backyard, the finished ground conditions, and the finished decisions.
Planning the Waterfall Pond Design

Determining the Right Placement
Prior to even obtaining any equipment, some time was taken to inspect the backyard itself. The tilt of the ground was a significant factor. The rise of the ground made it easier to properly place the waterfall without forcing it into a specific location.
The placement of the waterfall itself was also determined based on gravity. As the water fell back into the pond, it travelled a short distance directly down. This is to prevent splash loss — the amount of water that is lost outside of the area of the waterfall itself.
Designing for Flow and Stability
The rocks were first arranged dry before being set in concrete. While easy to overlook, this step is incredibly important.
Each rock was tested for movement. A stable base is critical in protecting the liner — the rubber layer under the waterfall — and ensuring the waterfall is always stable.
The stability of the waterfall was considered far more important than its appearance.
Choosing the Right Waterfall Pump Kit
For this build, the Poposoap 40W 660GPH Waterfall Kit was used. This pump was chosen for its consistency in providing pressure for the waterfall. In addition, the use of a metallic spillway ensured that the water was spread evenly along the perimeter.

40W 660GPH Waterfall Pump Kit with 12"x4.3" Spillway
$129.99
Outdoor pond waterfall kits with 12-inch 304 stainless spillway, 40W 660GPH pump, 9.8ft hose and filter bag. Ideal waterfall kits for backyard.
Matching the Equipment with the Build
A pump that is too small for the build would not be enough to produce sufficient flow, while one that is too big would cause problems with splashing and noise.
This pump was right in the middle, providing enough power for the build without causing problems with adjustments.
In addition, the use of the spillway made the build process easier because the waterfall design was already predetermined, unlike when using stones, where one would be forced to manually design the waterfall.
Step-by-Step Waterfall Pond Build Process

Placing the Pump and the Tubing
Placing the pump at the lowest point in the pond was crucial for this build because this would help the pump draw the water from the pond.
Placing the tubing behind the rocks was also crucial for this build because this ensured that the tubing was not visible, thus improving the overall look.
Placing the Spillway
Placing the spillway was a bit challenging because one had to ensure that the spillway was level. This was because, without a level spillway, the waterfall would be unbalanced, with more water being pumped to one side.
Support stones were also placed underneath to prevent sagging. This also reduced pressure on the liner underneath the spillway.
Testing and Adjusting Flow
The pump was switched on before the waterfall pond build was complete. The flow of water was observed from various angles. Small rocks were moved to direct water back to the pond basin.
This part of the waterfall pond build saved time in the long run. Once rocks are in place, it is harder to make alterations.
Fine-Tuning Sound, Look, and Performance
Adjusting Waterfall Sound
The sound of running water is subjective. Some people like it loud, while others like it soft. During this waterfall pond build, the sound was adjusted until it was present but not overwhelming.
The height and water volume worked together to produce a soothing sound.
Blending into the Landscape
The choice of natural stones helped this waterfall blend with the surroundings. Gravel and plants later helped to blend it in further.
This prevented it from looking like it was built in the backyard. Instead, it looked like it belonged there.
Long-Term Reliability
The electric pump used in this waterfall pond build is reliable. Unlike solar panels, it does not fade in cloudy weather. This is important for a waterfall pond, as sound and flow are important features.
Why This Waterfall Pond Build Works

There are various reasons why this waterfall pond build is effective.
- The pump matched the height and width of the waterfall.
- Flow was tested early on.
- Stability came before aesthetics.
- Maintenance access was a consideration from the start.
This build is a good example of how the Poposoap Waterfall Kit can be used in real-world backyard projects. This product is geared towards those who want results without a lot of complications.
Practical Takeaways for First-Time Builders
If you are planning on building your own waterfall pond, here are a number of things you need to consider:
- Plan the water flow before placing the stones.
- The pump should be able to support the height of the waterfall.
- The spillway should be level.
- Test the water flow before placing the stones permanently.
- There should be enough room for future maintenance.
These are some of the things you need to consider when you want to achieve the best results from your waterfall pond.
Conclusion: A Build That Balances Simplicity and Performance
This is a good example of a simple build that is done properly. This build is a good example of a build that can be achieved with a good plan and good equipment.
This build shows how our brand and products can be used to get a job done without a lot of complications. A waterfall pond is a good example of a build that can be used to bring life into a backyard.
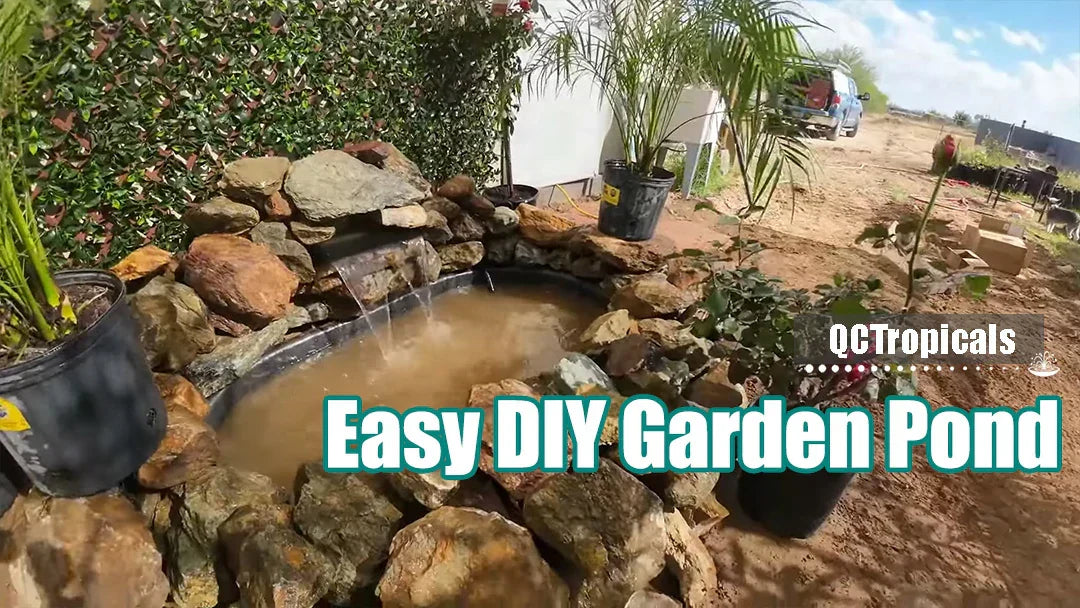
READ MORE: Easy DIY Garden Pond
Laisser un commentaire
Tous les commentaires sont modérés avant d'être publiés.
Ce site est protégé par hCaptcha, et la Politique de confidentialité et les Conditions de service de hCaptcha s’appliquent.